
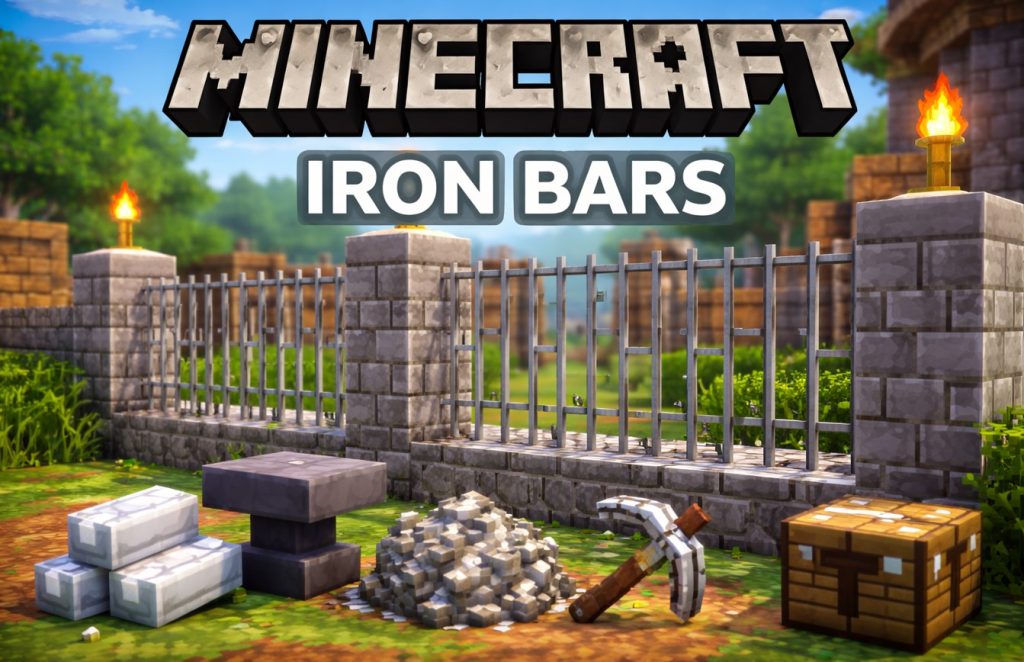
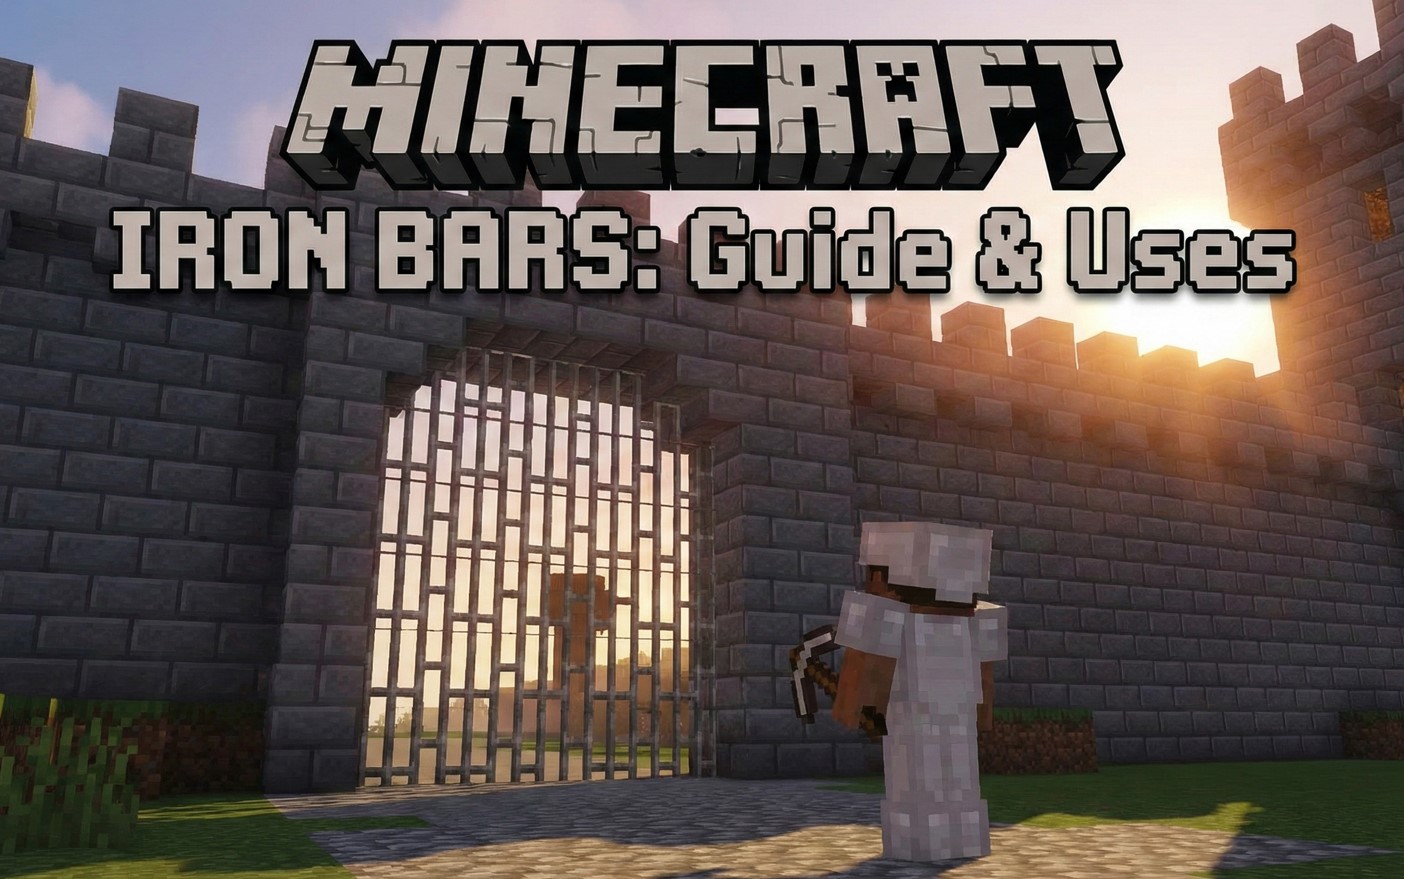
Everything You Need to Know About Minecraft Iron Bars
So you’ve been mining for hours, your inventory’s packed with iron ingots, and you’re wondering what to do with all that metal? Well, Minecraft iron bars might just become your new favorite building material. They’re not flashy like diamond blocks or as cozy as oak planks, but honestly, these thin vertical posts pack way more utility than most players realize.
Iron bars showed up in Minecraft back in the Beta 1.8 update – yeah, we’re talking September 2011 here. They’ve been around long enough that veteran players probably take them for granted, but there’s actually a surprising amount of depth to these seemingly simple blocks. And here’s the thing: once you start incorporating them into your builds, you’ll wonder how you ever managed without them.
Think of iron bars as the unsung heroes of Minecraft architecture. They’re perfect for creating medieval prison cells, modern balconies, or even just keeping mobs at bay while still maintaining visibility. But we’re getting ahead of ourselves. Let’s break down exactly what makes these blocks tick.
What Makes Minecraft Iron Bars Special?
First off, iron bars in Minecraft aren’t your typical full block. They’re transparent, meaning light passes through them, and they connect to adjacent blocks in interesting ways. When you place one iron bar by itself, it looks like a thin vertical post. But stick another one next to it? They automatically connect, forming what looks like window bars or a fence section.
The connectivity system works with other iron bars, solid blocks, and even glass panes. It’s pretty smart, actually – the game recognizes when bars should link up, creating seamless designs without any extra effort on your part. No complicated redstone contraptions needed here.
You know what’s really cool? Iron bars are completely transparent to light. Place a torch on one side, and it’ll illuminate the other side just fine. This makes them incredibly useful for creating safe areas where you can see threats coming without giving up your light sources. Try doing that with cobblestone walls.
Crafting Minecraft Iron Bars the Right Way
Alright, let’s get practical. You want Minecraft iron bars? You’ll need iron ingots – six of them, to be exact. And before you groan about resource gathering, remember that this recipe gives you 16 iron bars. That’s a pretty solid return on investment.
Here’s the crafting recipe laid out:
Iron Bar Crafting Recipe
| Slot Position | Material Required |
|---|---|
| Top Row | Empty, Empty, Empty |
| Middle Row | Iron Ingot, Iron Ingot, Iron Ingot |
| Bottom Row | Iron Ingot, Iron Ingot, Iron Ingot |
Just fill up the bottom two rows of your crafting table with iron ingots in a 3×2 pattern, and boom – 16 iron bars are yours. Simple, right?
But here’s where it gets interesting. Six iron ingots might sound like a lot if you’re just starting out, but once you’ve got a decent mine going, iron becomes one of those resources you’ll have in abundance. Seriously, after a few hours of caving, you’ll probably have more iron than you know what to do with.
Finding Minecraft Iron Bars in the Wild
Now, not everyone wants to craft everything from scratch. Sometimes you just stumble upon ready-made materials, and iron bars are no exception. You can find them naturally generated in several locations throughout your Minecraft world.
Strongholds are probably your best bet. These underground fortresses are loaded with iron bars, especially around the library areas and corridors. They’re used as window decorations and structural elements. If you’re planning an End portal hunt anyway, might as well grab some free bars while you’re there.
Villages also feature Minecraft iron bars, particularly in the windows of certain building types. The armorer’s house, for instance, often has them installed. Woodland mansions – those massive structures in dark forests – sometimes include iron bars in their jail cells and storage rooms. Ironically appropriate, don’t you think?
Ancient cities, those creepy, deep dark structures added in the Wild Update, also contain iron bars. Though honestly, if you’re brave enough to raid an ancient city, you probably have bigger priorities than collecting building materials while dodging the Warden.
Here’s a fun fact: you can’t mine iron bars with your fist or a wooden pickaxe. You’ll need at least a stone pickaxe to successfully harvest them. Use anything less, and they’ll just break without dropping anything. Kind of annoying when you’re in a pinch, but that’s Minecraft logic for you.
Creative Ways to Actually Use Minecraft Iron Bars
So you’ve crafted a stack (or five) of iron bars. Now what? Let me tell you, the possibilities are way more interesting than you might expect.
Building and Decoration
Iron bars shine brightest – pun intended – when you’re going for specific architectural styles. Medieval builds? Absolutely perfect. You can create authentic-looking dungeon cells, castle windows, or defensive barriers. The thin profile gives them a realistic appearance that full blocks just can’t match.
Modern architecture is another area where iron bars excel. Glass and iron bar combinations create sleek, contemporary window designs. Try sandwiching iron bars between glass panes for a kind of reinforced window look. It’s a chef’s kiss for modern houses and skyscrapers.
Balconies are where iron bars really show their worth. They provide safety railings that don’t completely block your view. Unlike fences, which can look chunky and out of place on modern builds, iron bars maintain that slim, elegant profile. Plus, they’re tall enough that you won’t accidentally walk off the edge.
Practical Building Applications
- Prison cells and dungeons for adventure maps.
- Window bars for enhanced security aesthetics.
- Balcony railings on multi-story structures.
- Decorative grilles and room dividers.
- Mob-proof viewing windows in spawner farms.
Security and Mob Control
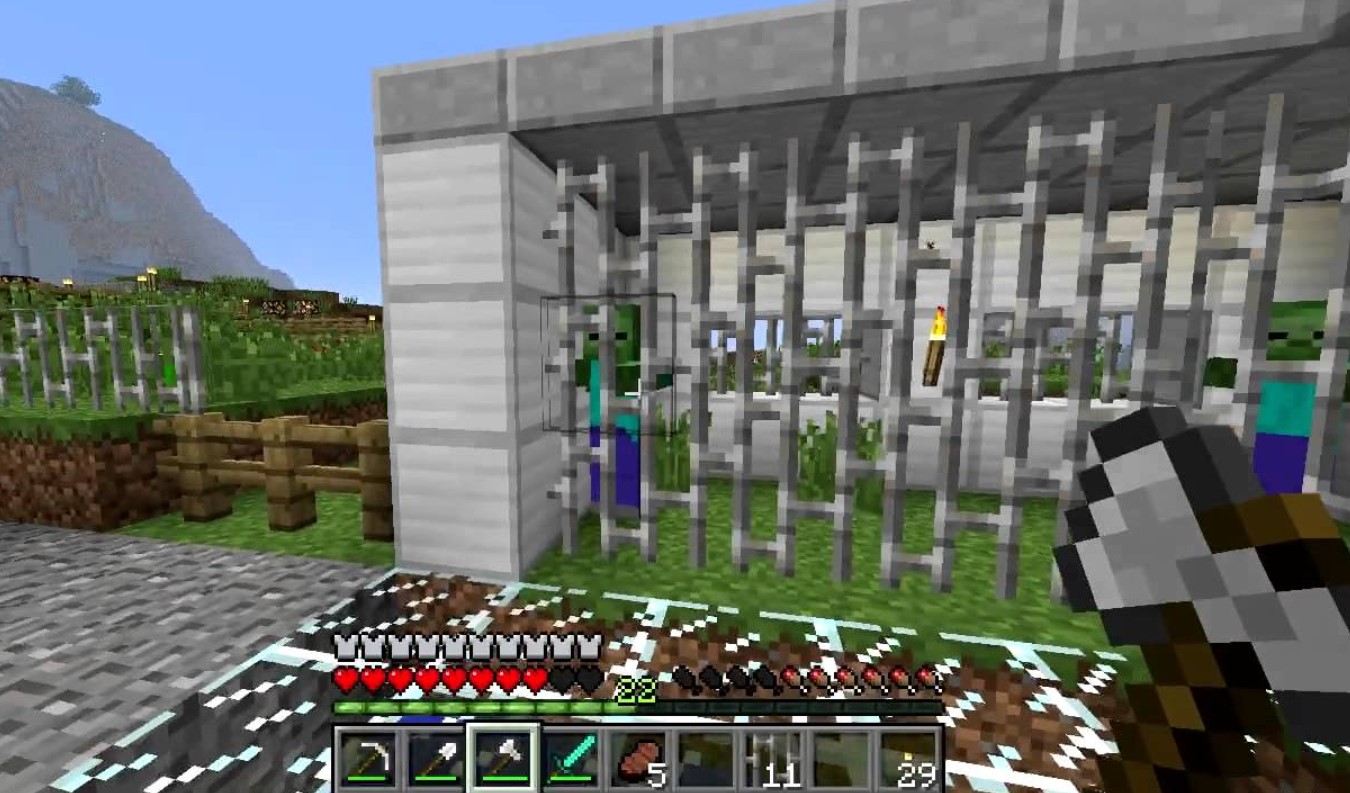
Here’s something most players don’t fully appreciate: iron bars are completely mob-proof. Zombies can’t break them, skeletons can shoot through them (watch out for that), but nothing’s getting past them physically. This makes them ideal for mob farms and viewing galleries.
I’ve built countless mob grinders over the years, and iron bars are my go-to material for observation windows. You can watch the mobs pile up, monitor your XP gain, and stay completely safe. The transparency means you’re not building blind, unlike if you used solid blocks.
Nether portals with the hardest enemies in Minecraft benefit from iron bar protection, too. Wrap your portal in iron bars, and you create a safe buffer zone. Ghasts can’t fireball through them (the projectile passes through but won’t damage the bars or obsidian), and zombie pigmen can’t rush you the instant you step through. It’s a small quality-of-life improvement that makes Nether travel way less stressful.
Redstone and Technical Stuff
Okay, so iron bars aren’t redstone components themselves, but they interact with redstone systems in useful ways. They’re transparent to redstone signals, meaning you can run redstone dust over them without breaking the circuit. This opens up some compact building possibilities for redstone contraptions.
Sticky pistons can’t move iron bars, which is important to know if you’re building anything with moving parts. They’ll just break if a piston tries to push them. On the flip side, this property makes them useful as permanent fixtures in piston doors or other mechanical builds where you need immovable elements.
Comparing Iron Bars to Similar Blocks
Let’s be real – Minecraft offers several block types that serve similar purposes. How do iron bars stack up against the competition?
Iron Bars vs. Other Barrier Blocks
| Block Type | Blast Resistance | Mob-Proof | Transparency | Connects to Glass |
|---|---|---|---|---|
| Iron Bars | 6 | Yes | Full | Yes |
| Glass Panes | 0.3 | No | Full | Yes |
| Fences | 3 | Yes | Partial | No |
| Walls | 6 | Yes | Partial | No |
Glass panes look similar and also connect to adjacent blocks, but they’re fragile as heck. One creeper explosion and your fancy windows are history. Iron bars, on the other hand, have decent blast resistance. They won’t survive a direct creeper hit, but they’re far more durable.
Fences are taller and prevent jumping, which iron bars don’t do – mobs and players can jump over a single iron bar. But fences don’t connect to glass panes, limiting your design options. It really depends on what you’re building.
Walls have the same blast resistance as Minecraft iron bars, but they’re not fully transparent. Light transmission is limited, and they don’t create those clean lines that iron bars do. For castle builds, walls might fit better thematically, but for anything modern or industrial, iron bars win hands down.
The Silk Touch Question
Can you mine iron bars with Silk Touch and get them back? Absolutely. Any pickaxe with Silk Touch will drop iron bars as items, just like mining them normally would. Honestly, though, you don’t really need Silk Touch for iron bars since they drop themselves anyway when mined with the correct tool.
Where Silk Touch becomes relevant is when you’re dismantling someone else’s build or restructuring your own designs. It’s just convenient to know that you won’t lose materials through the harvesting process.
Advanced Techniques and Pro Tips
After spending countless hours building with iron bars, I’ve picked up some tricks that don’t show up in most tutorials.
Waterlogging Works
Yep, iron bars can be waterlogged. This is huge for underwater builds. You can create submarine windows, underwater prison cells (for some reason?), or decorative elements in ocean monuments. The bars stay in place, water flows through them, and fish can swim past. It’s perfect for aquarium designs.
Just place the iron bar, then use a water bucket on it. The bar becomes waterlogged, and you’ve got yourself a permanent water source block in that space. Remove it by placing a block in that spot or using a sponge nearby.
Layering for Depth
Here’s a design trick: place iron bars with a one-block gap between them, then put glass panes behind. The visual depth this creates is honestly stunning. It looks like reinforced security glass, perfect for banks, vaults, or high-security areas in adventure maps.
You can experiment with different spacing patterns too. Two blocks of glass, one block of iron bars, repeat. Or checkerboard patterns where iron bars and glass panes alternate both horizontally and vertically. The connection system handles it all automatically.
Color Coordination
While you can’t dye iron bars (unlike glass), you can combine them with stained glass panes for color effects. Iron bars next to cyan glass panes create a modern, hospital-like aesthetic. Red stained glass with iron bars? Instant prison or emergency facility vibe.
The trick is thinking about color psychology. Cool colors (blue, cyan, light blue) make iron bars look more clinical and modern. Warm colors (red, orange) make them feel more industrial or dangerous. Gray and white create minimalist, contemporary designs.
Common Mistakes and How to Avoid Them
Let me save you some headaches I’ve experienced over the years.
Spacing Issues
New players often place iron bars, thinking they’ll create a fence-like barrier, then get surprised when mobs walk right through single bars. Remember: iron bars are only one block tall. Mobs can jump over them easily if there’s just one layer. You need to either stack them two blocks two high or combine them with other blocks for effective barriers.
Another spacing mistake? Forgetting that iron bars don’t connect to every block type. They’ll link to solid blocks and glass panes, but not to things like fences or walls. Plan your designs accordingly, or you’ll end up with weird gaps you didn’t expect.
Resource Planning
Six iron ingots for 16 bars sounds efficient until you realize how quickly you burn through them on large builds. A single window might need 10-20 bars, and suddenly you’re back at the mine searching for more iron ore. My advice? Stockpile before starting major projects.
Branch mining at Y-level 16 (in older versions) or around Y-level 0 to 16 (in 1.18+) gives you the best iron ore yields. Set up a furnace array and smelt in bulk. Future you will be grateful.
Aesthetic Oversights
Minecraft iron bars work brilliantly in some contexts and look completely out of place in others. They don’t fit rustic cottages or natural builds very well. Forcing them into every design just because you have them leads to inconsistent aesthetics.
Match your materials to your theme. Medieval stone castles? Iron bars are perfect. Cozy forest cabin? Maybe stick with wooden fences or glass panes. Not every build needs iron bars, and that’s okay.
Minecraft Iron Bars in Different Game Modes
Survival Mode
In survival, iron bars represent a mid-game building material. You probably won’t have them immediately, but once you’ve established a mine and gathered some iron, they become readily accessible. They’re not endgame materials like netherite, but they’re beyond early-game wood and stone.
The main challenge is gathering enough iron for large projects. Strip mining helps, but so does raiding structures. Villages, strongholds, and abandoned mineshafts all provide free iron you can smelt down. Golem farms are the ultimate solution if you’re willing to invest the time – they generate iron ingots passively.
Creative Mode
Creative mode is where iron bars really shine for builders. Unlimited resources mean you can experiment freely with designs, test different patterns, and create massive structures without resource constraints. This is where you discover just how versatile iron bars can be.
Try building an entire modern city block using primarily iron bars and glass. Or recreate a medieval fortress with proper dungeon cells. The lack of resource limitation lets your creativity run wild.
Hardcore and Challenges
In hardcore mode or challenge runs, iron bars become more strategic. Every iron ingot matters, so you’ll weigh whether iron bars are worth crafting versus using that iron for tools, armor, or other essentials. Generally, they’re luxury items until you’ve secured basic survival needs.
Speed runners rarely use iron bars – they’re just not relevant to beating the Ender Dragon quickly. But for long-term hardcore worlds where you’re building a base meant to last, they’re absolutely worth the investment for both aesthetics and security.
FAQ
Can you make Minecraft iron bars in a furnace?
Nope, iron bars are only craftable using a crafting table. You need six iron ingots arranged in a 2×3 pattern in the lower portion of the grid. Furnaces are for smelting iron ore into ingots, not crafting bars.
Do iron bars prevent mobs from spawning?
Iron bars themselves don’t prevent mob spawning, but they’re transparent blocks. Mobs can’t spawn on transparent blocks, so anywhere you place iron bars won’t become a spawn point. They don’t prevent spawning on nearby blocks, though.
Can you climb iron bars like a ladder?
Nah, you can’t climb iron bars. They’re not coded as climbable blocks like ladders or vines. You’ll just stand next to them like any other block. If you need vertical mobility, stick with actual ladders.
What’s the blast resistance of Minecraft iron bars?
Iron bars have a blast resistance of 6, which is the same as cobblestone. They’ll survive small explosions, but won’t hold up against direct creeper blasts or TNT. For explosion-proof builds, you need obsidian or bedrock.
Can villagers see through iron bars?
Yes, villagers can see through iron bars just fine. The bars are transparent to line-of-sight checks, so villagers will still notice beds, workstations, and other villagers through Minecraft iron bars. This is useful for villager trading halls.
Do iron bars work in the Nether?
Absolutely. Iron bars function identically in all dimensions – Overworld, Nether, and End. They’re great for building safe observation points around Nether fortresses or protecting your Nether hub from ghast attacks.
Can hoppers collect items through iron bars?
Yep, hoppers work fine through iron bars. Items can pass through the bars vertically, and hoppers will collect them. This is super useful for mob farm collection systems where you want visibility but still need item collection.
Wrapping Things Up
Iron bars might seem basic at first glance, but they’re genuinely one of Minecraft’s most versatile building materials. From medieval dungeons to modern skyscrapers, from mob farms to decorative windows, these thin metal posts do serious work.
The crafting recipe is straightforward, the materials are accessible once you’ve got a mine going, and the building possibilities are extensive. Whether you’re a survival purist carefully managing resources or a creative mode builder experimenting with architectural designs, iron bars deserve a spot in your building repertoire.
And honestly? The more you work with them, the more uses you’ll discover. That’s the beauty of Minecraft – even simple blocks have depth when you start thinking creatively. So grab some iron ingots, craft yourself a stack of bars, and start building. You might surprise yourself with what you create.
P.S. If you want to support the ManillaGames team please share this post across social media. We will appreciate your feedback online! Also, you can consult our team directly – send us an email.